

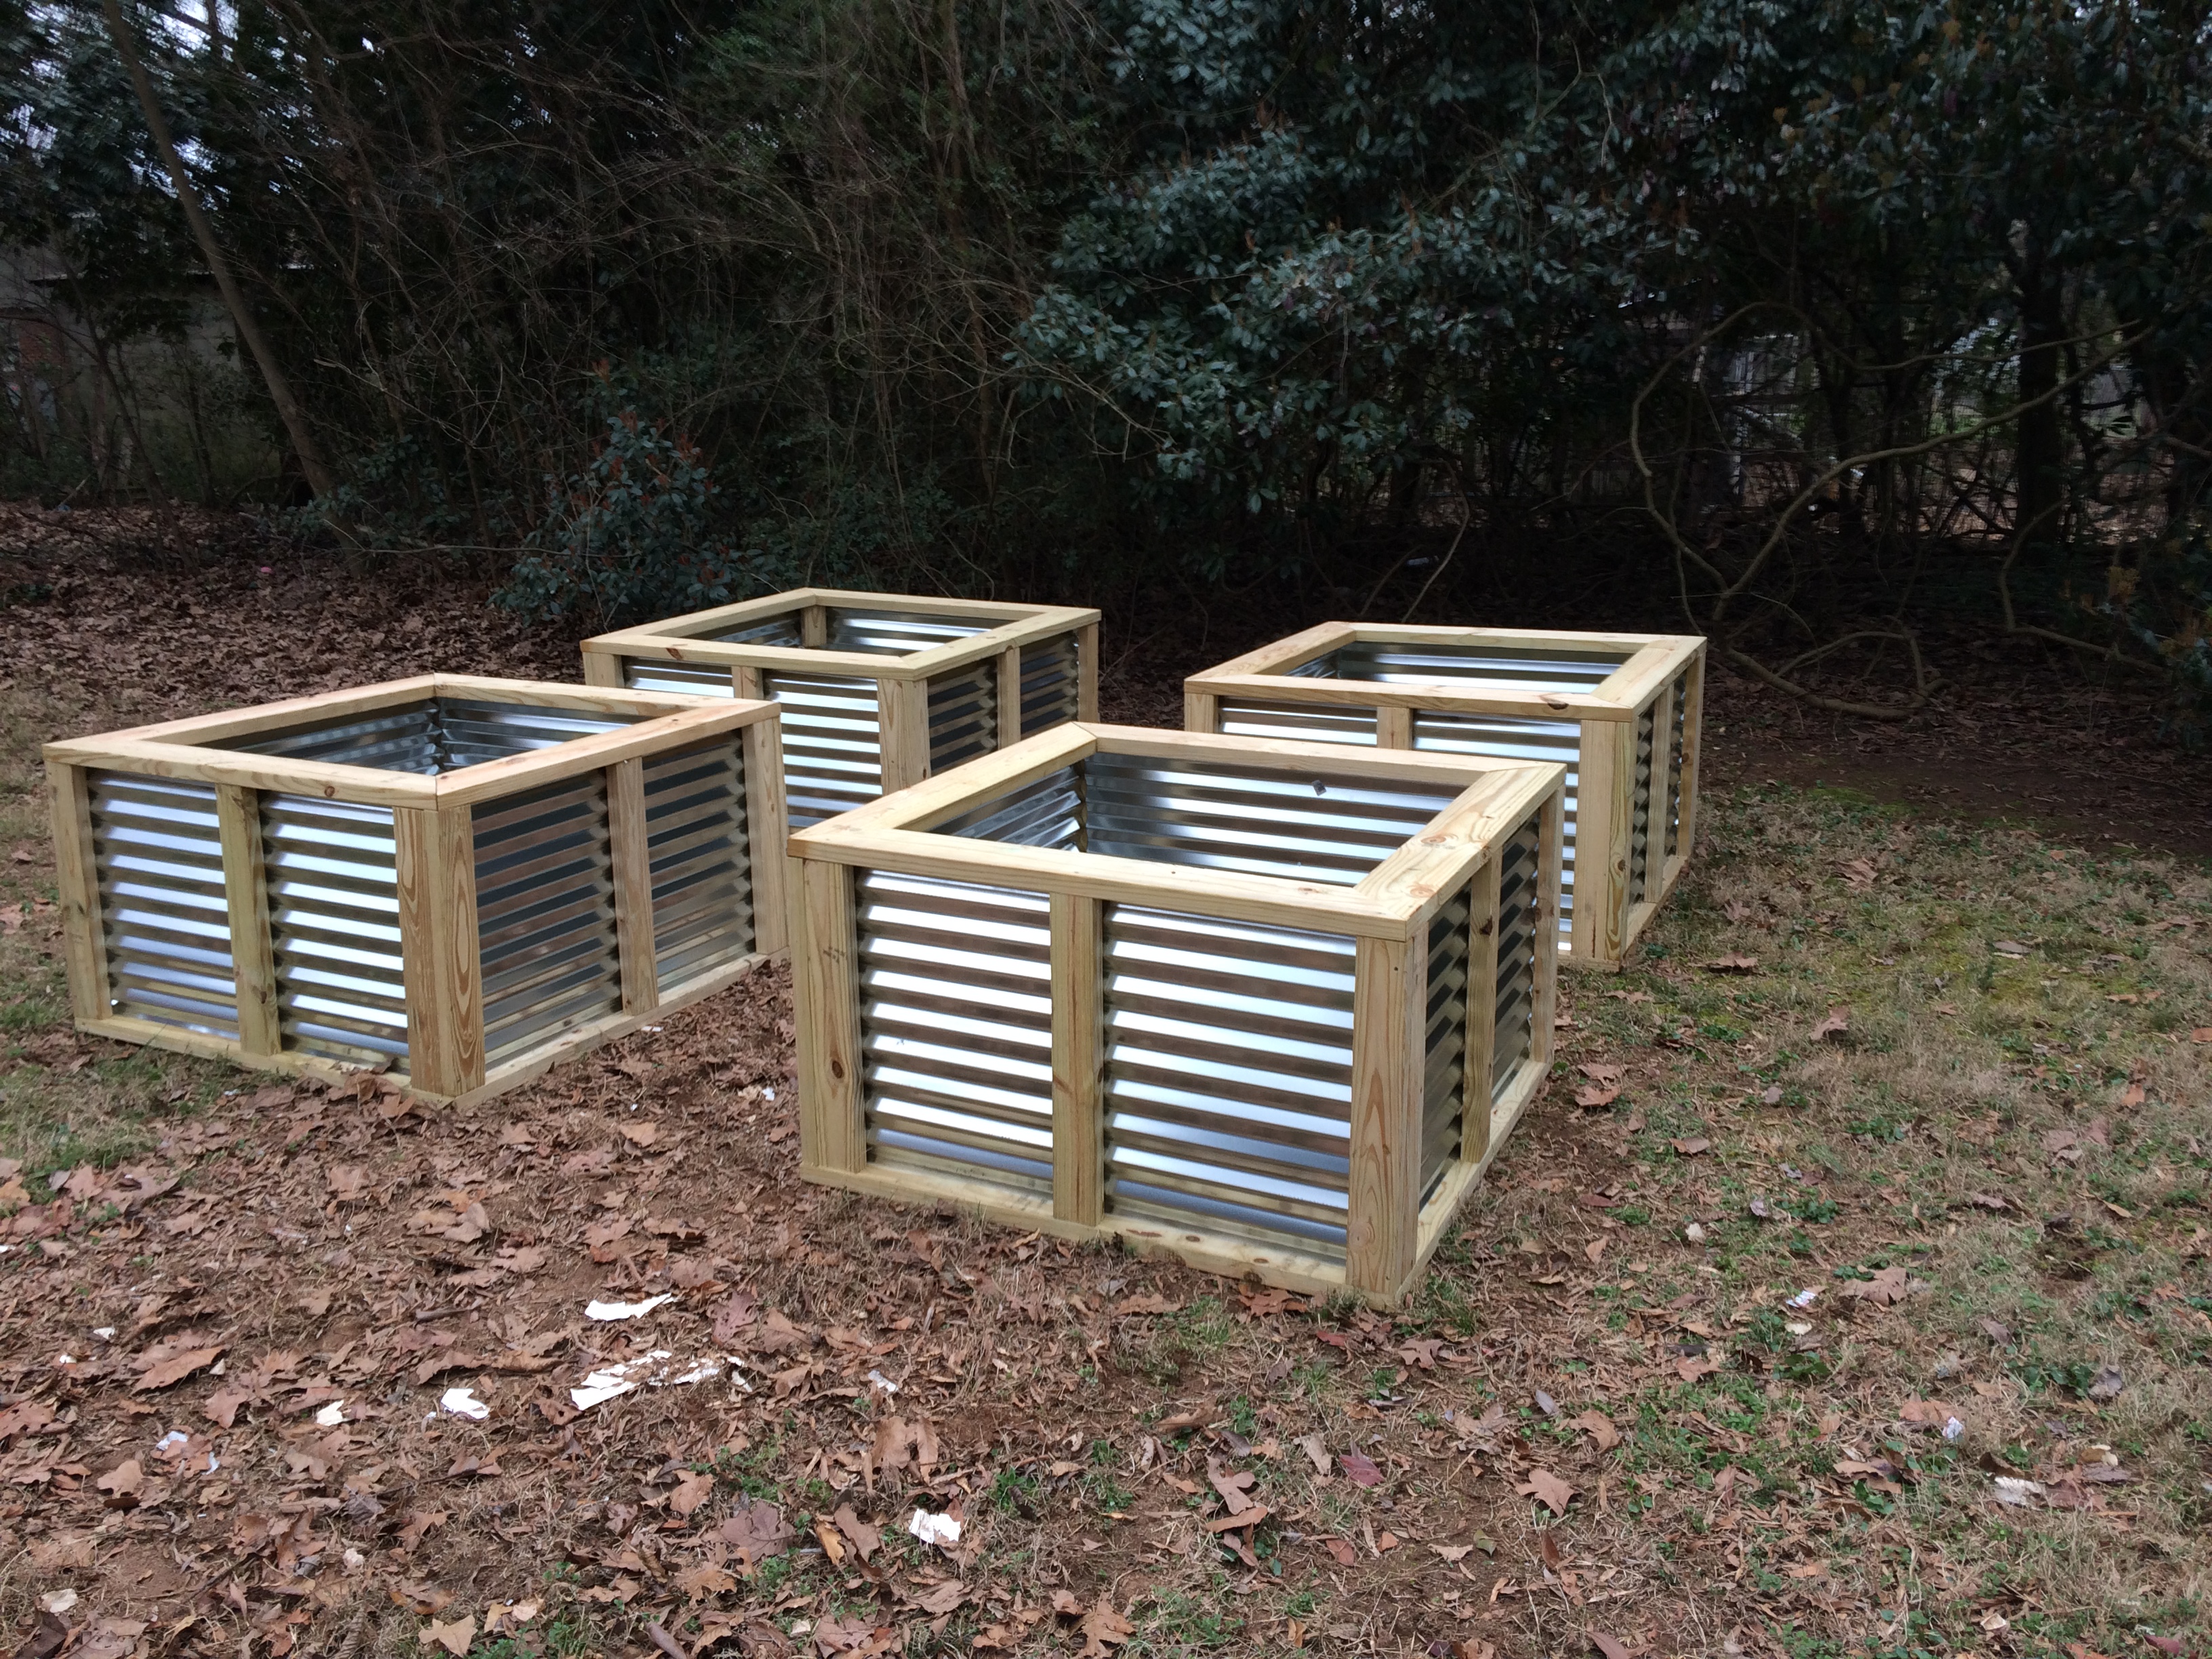
I know this is not my normal kind of topic but this is something that I wanted to put together some information on how I built these garden boxes as I could not find a good design that I liked.
These boxes are built based on the basic dimensions of the metal and the boards used to be completed with as few of cuts as I could while meting the deign I wanted. I’m sure there would have been some other improvements on this design but this is my shot.
All of my supplies came from Lowes and here is the list of needed supplies to complete one box:
- 2 – 2.5′ x 8′ metal roofing (Actual dimensions are closer to 2’2″ x 8′) – $12 each
- 2 – 2x6x8 Treated Lumber – $5.54 each
- 6 – 2x4x8 Treated Lumber – $3.54 each
- 56 – 3″ wood screws (Approximate) – I had these laying around from other projects
- 27 – 1″ wood screws
So my cost not including screws is $56 per box. Some useful tools for this project are:
- Miter Saw
- Cordless Drill
- Philips Screw Driver or Punch
- Hammer
- Tin Snips
- Carpenters Square
- Pencil or pen
- Work Bench or Saw Horses.
- Yard stick or straight edge.
- Permanent marker.
So these boxes are about 4 feet wide by 4 feet wide, give or take an few inches, and are 2 feet 6 inches tall. The metal roofing although its labeled as 2.5 feet wide its actual measurement is 2’2.5″ so to avoid cutting them I used this as my base measurement for the interior sections where the metal goes. I suggest that you measure your metal and adjust as needed to avoid needing to cut the metal down.
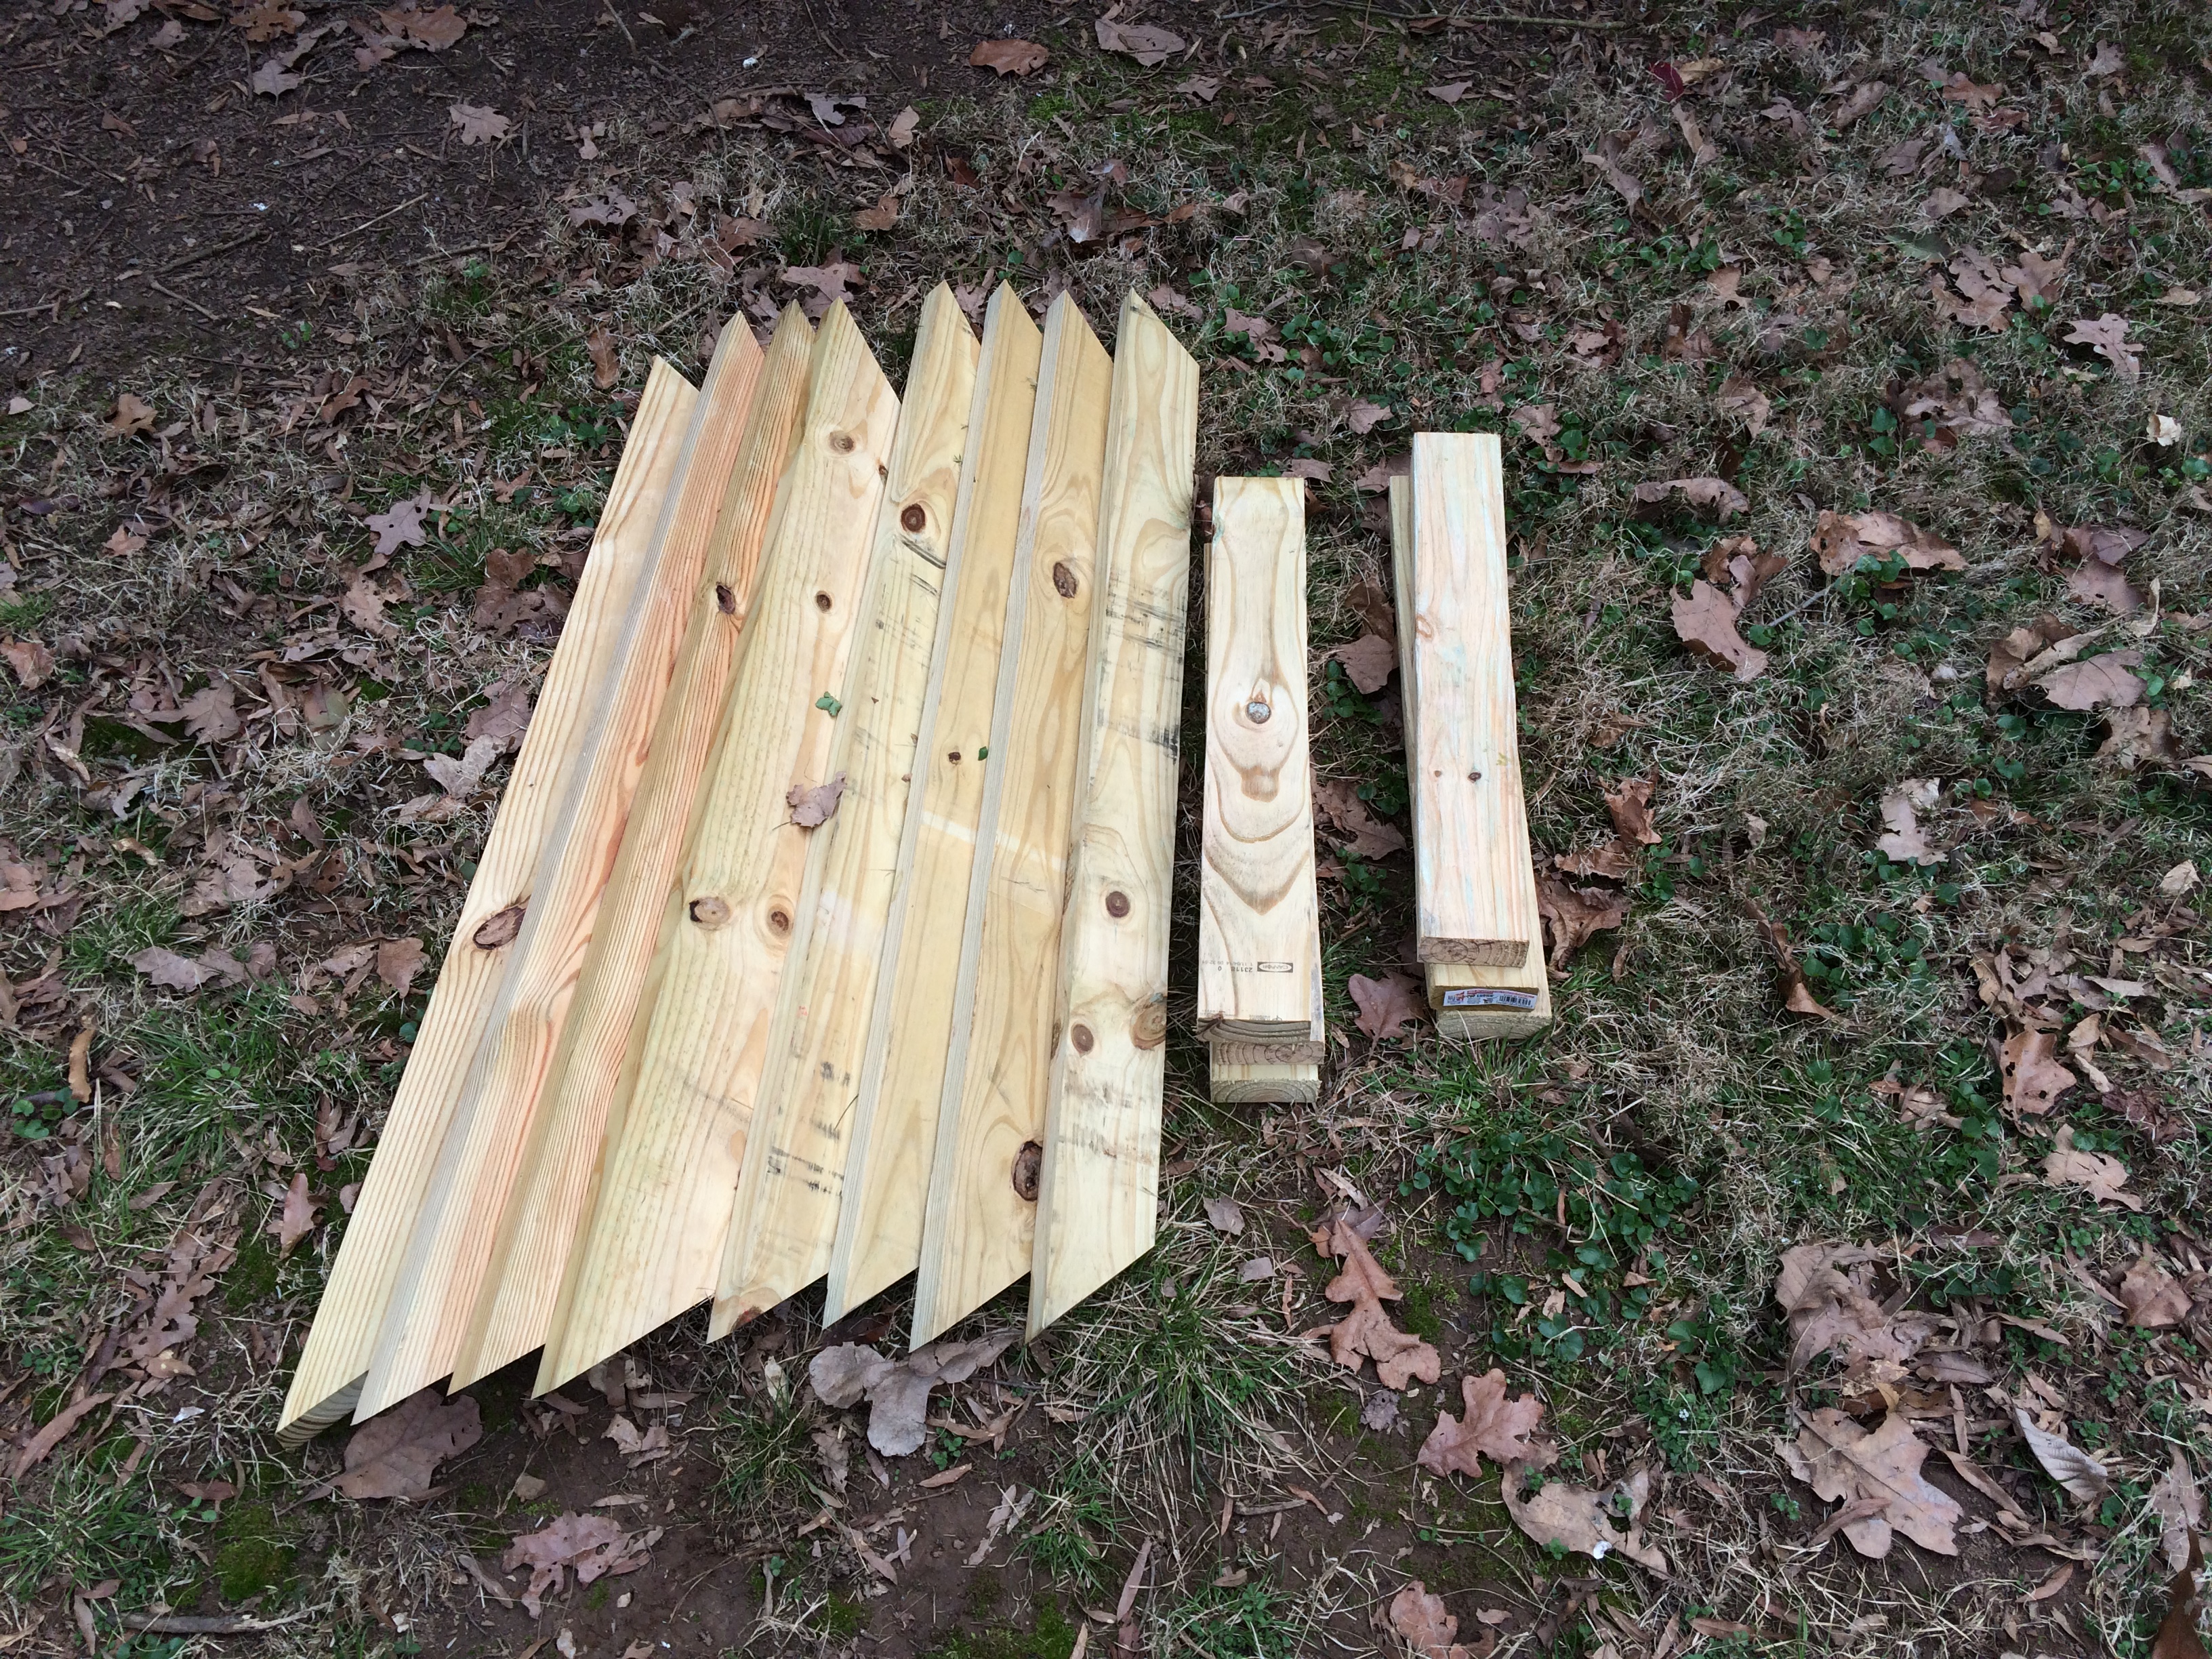
Cutting the wood.
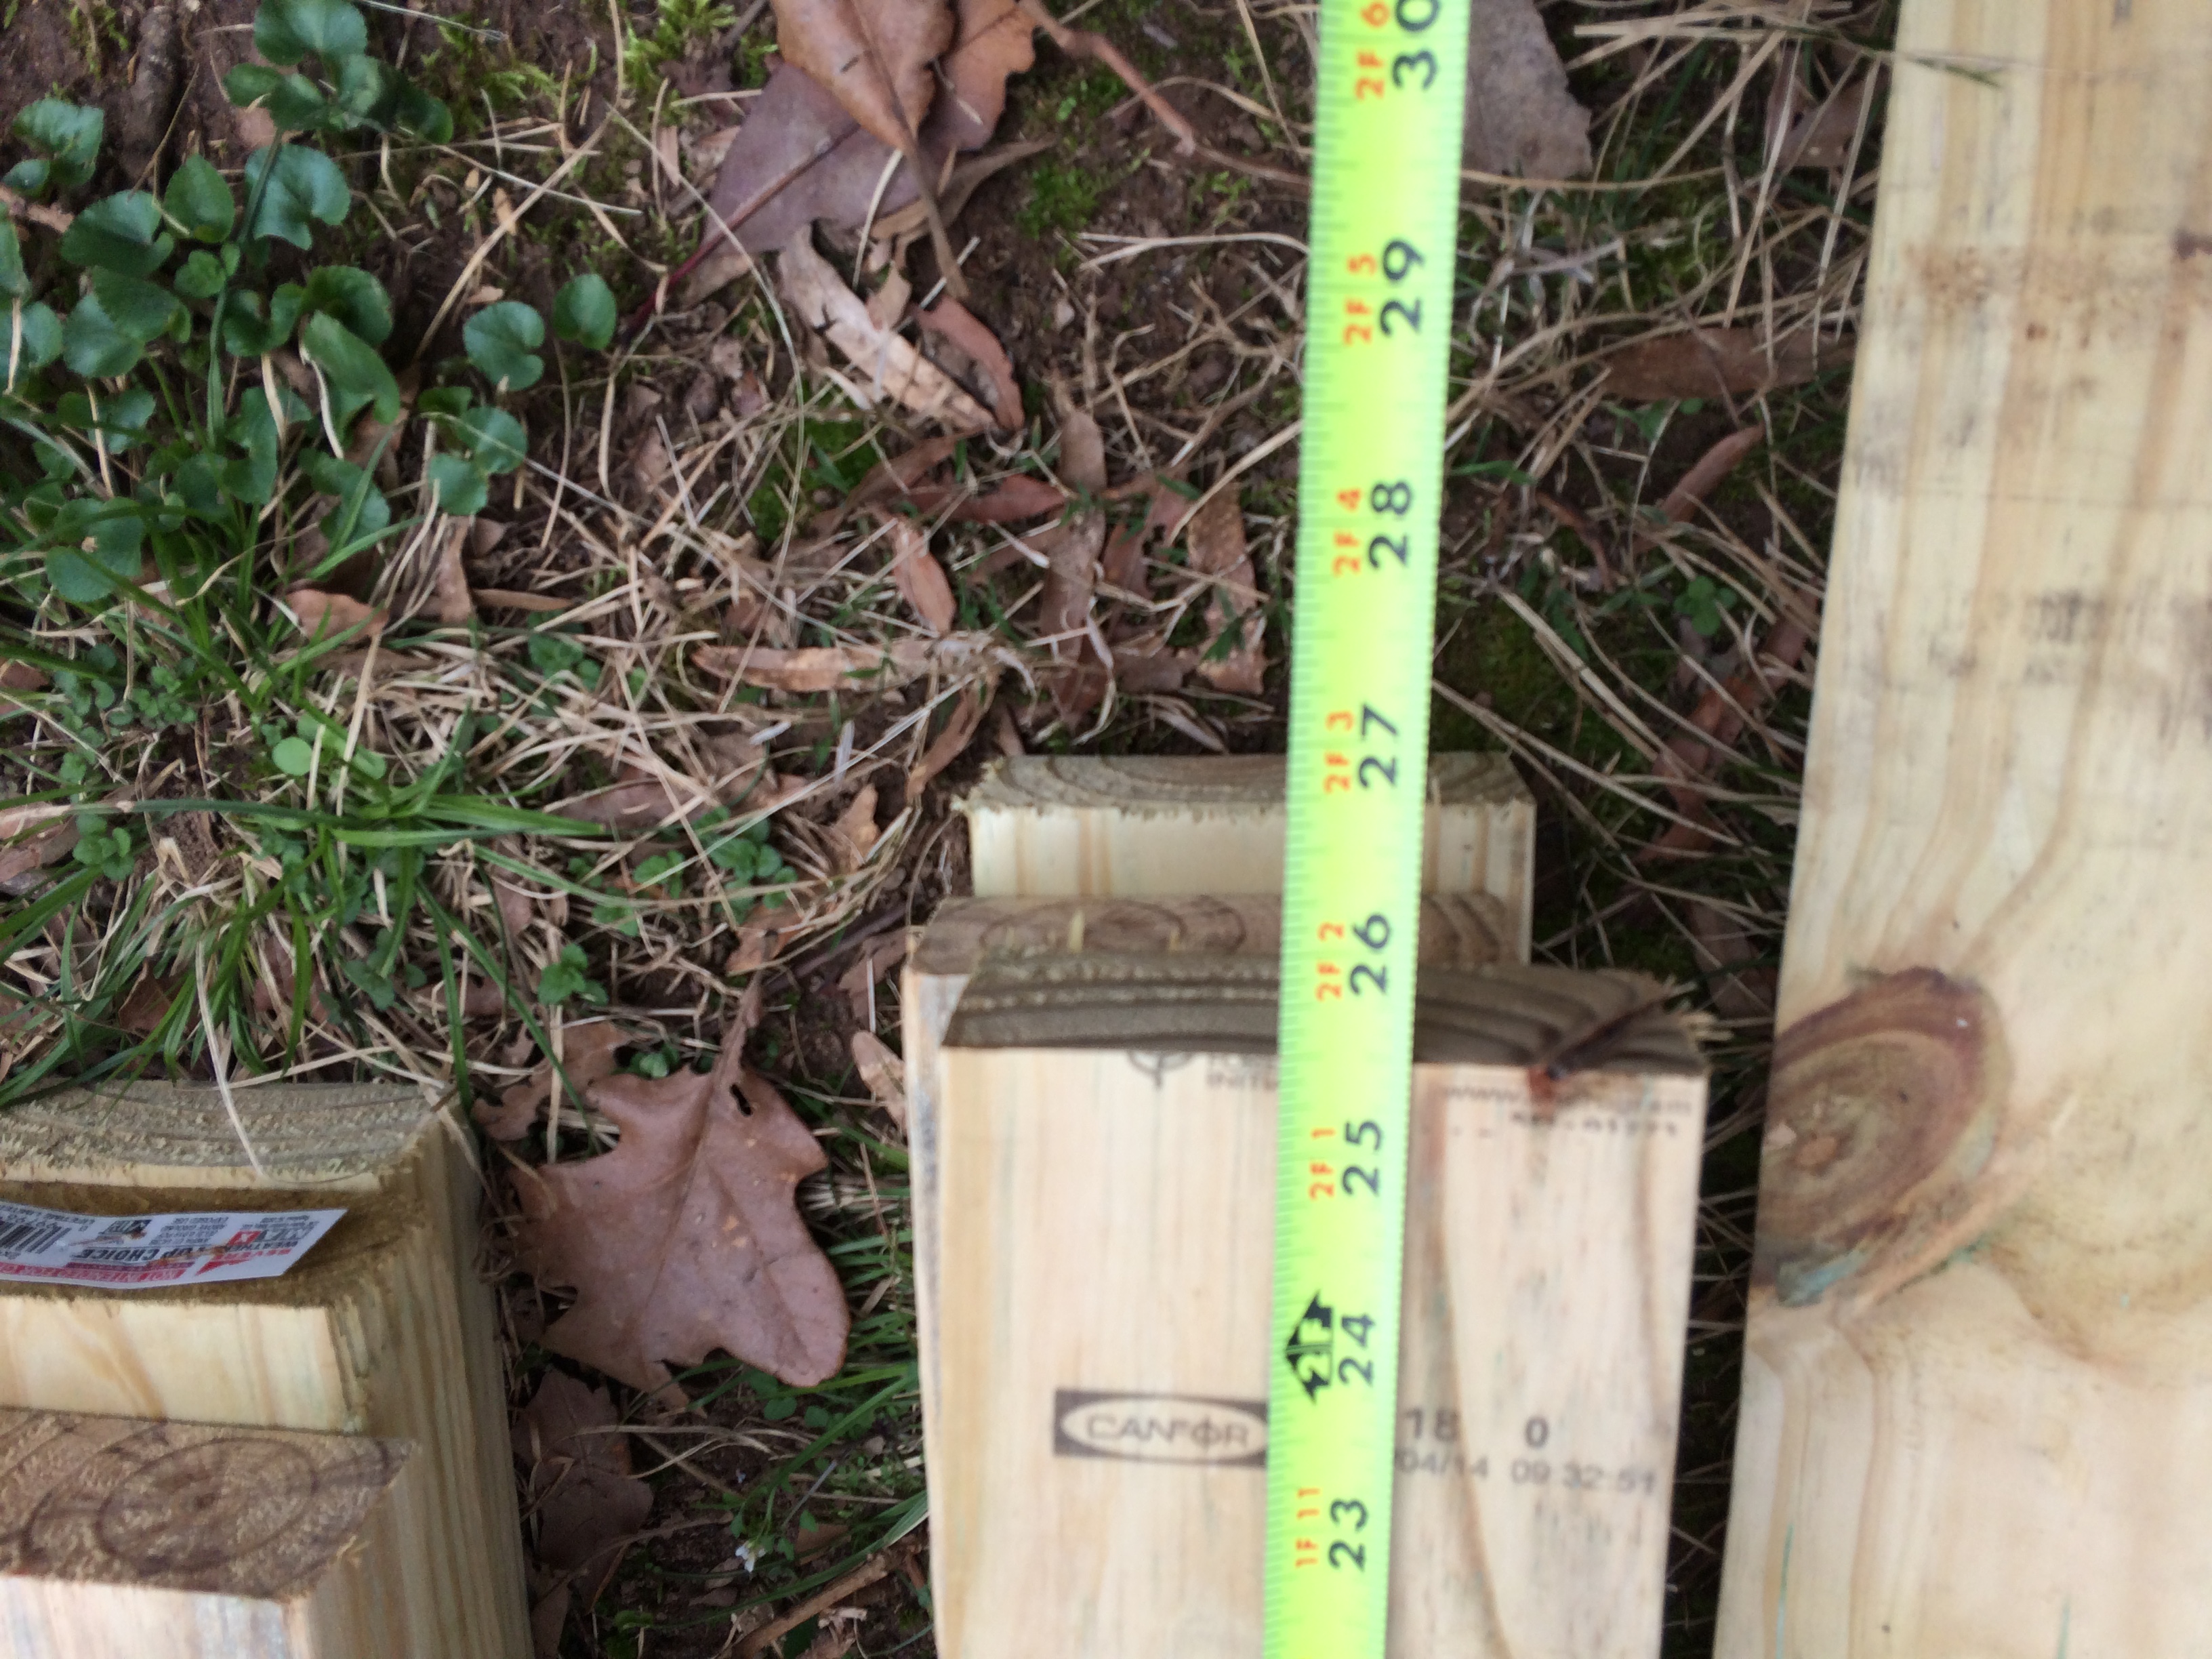
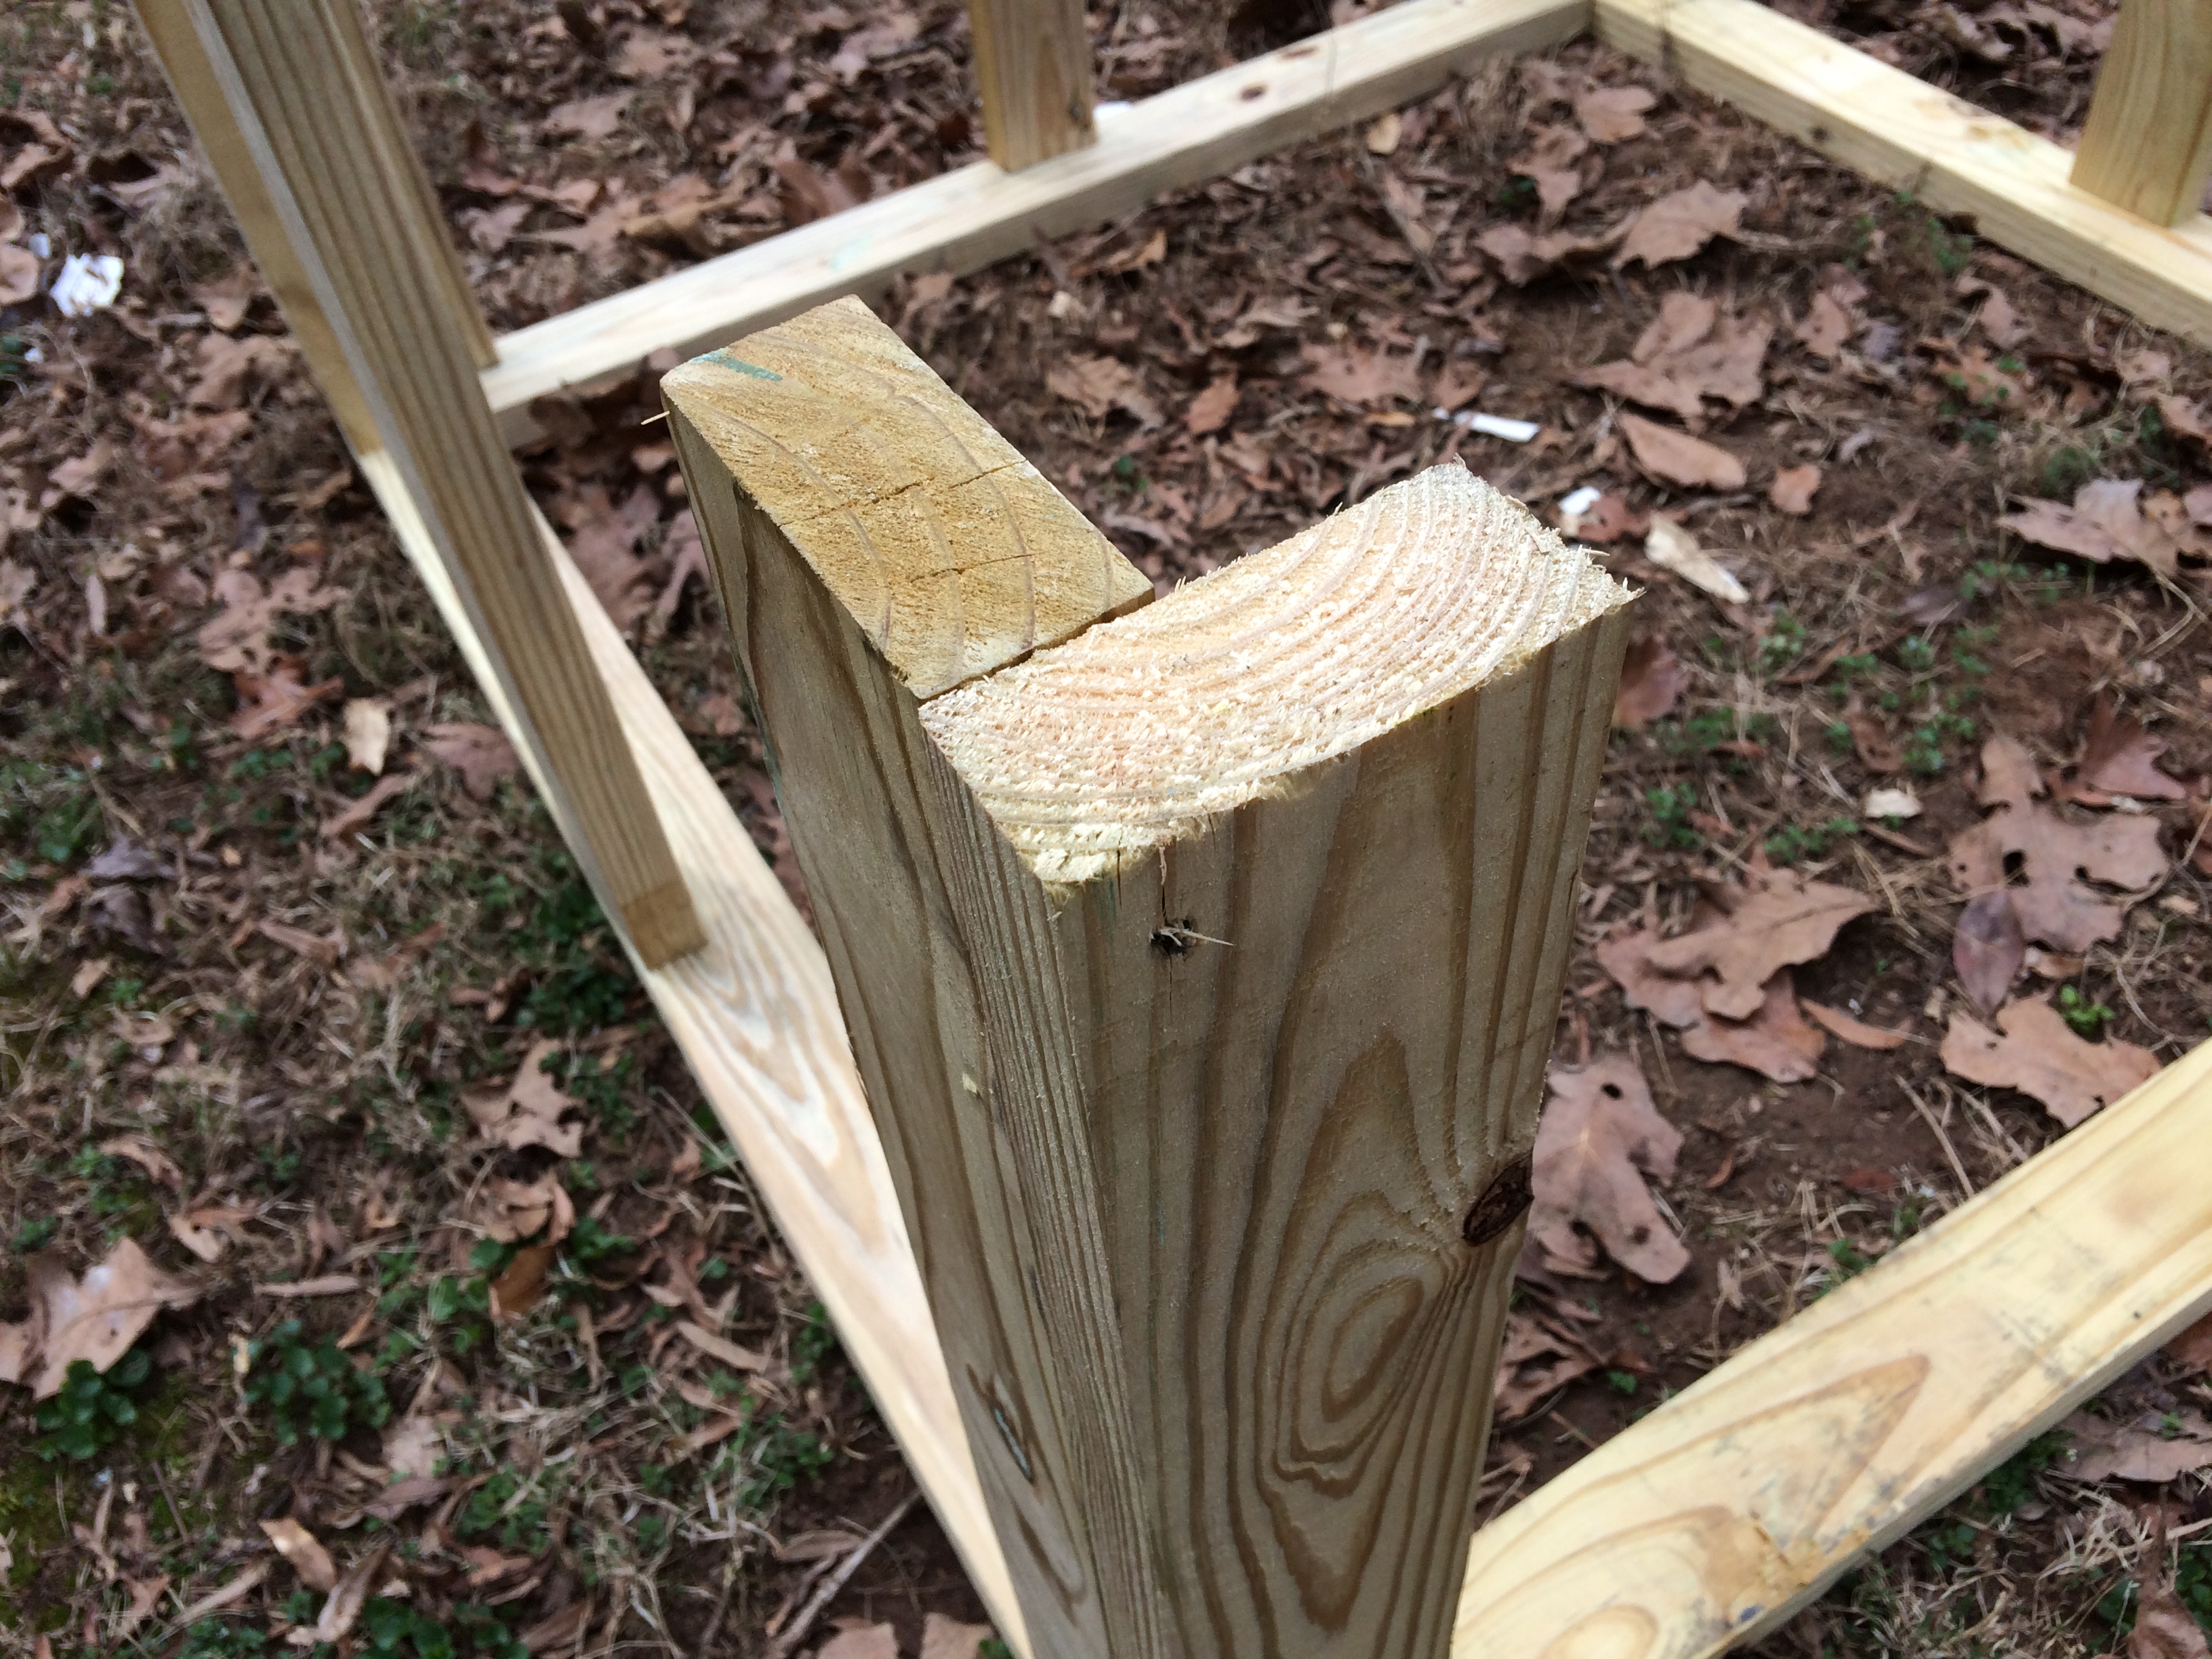
I cut one of the bottom sides and used that one as a template for all of my other ides including the top sides(Bottom is 2×4 Top is 2×6) to help keep everything more consistent.
4 – Bottom sides – Material: 2×4 – Size: 49.5″ with opposing 45 degree angles

12 – Vertical Sides – Material: 2×4 – Size:25.5″ flat cut
4 Top Sides – Material: 2×6 – Size: 49.5″ with opposing 45 degree angles

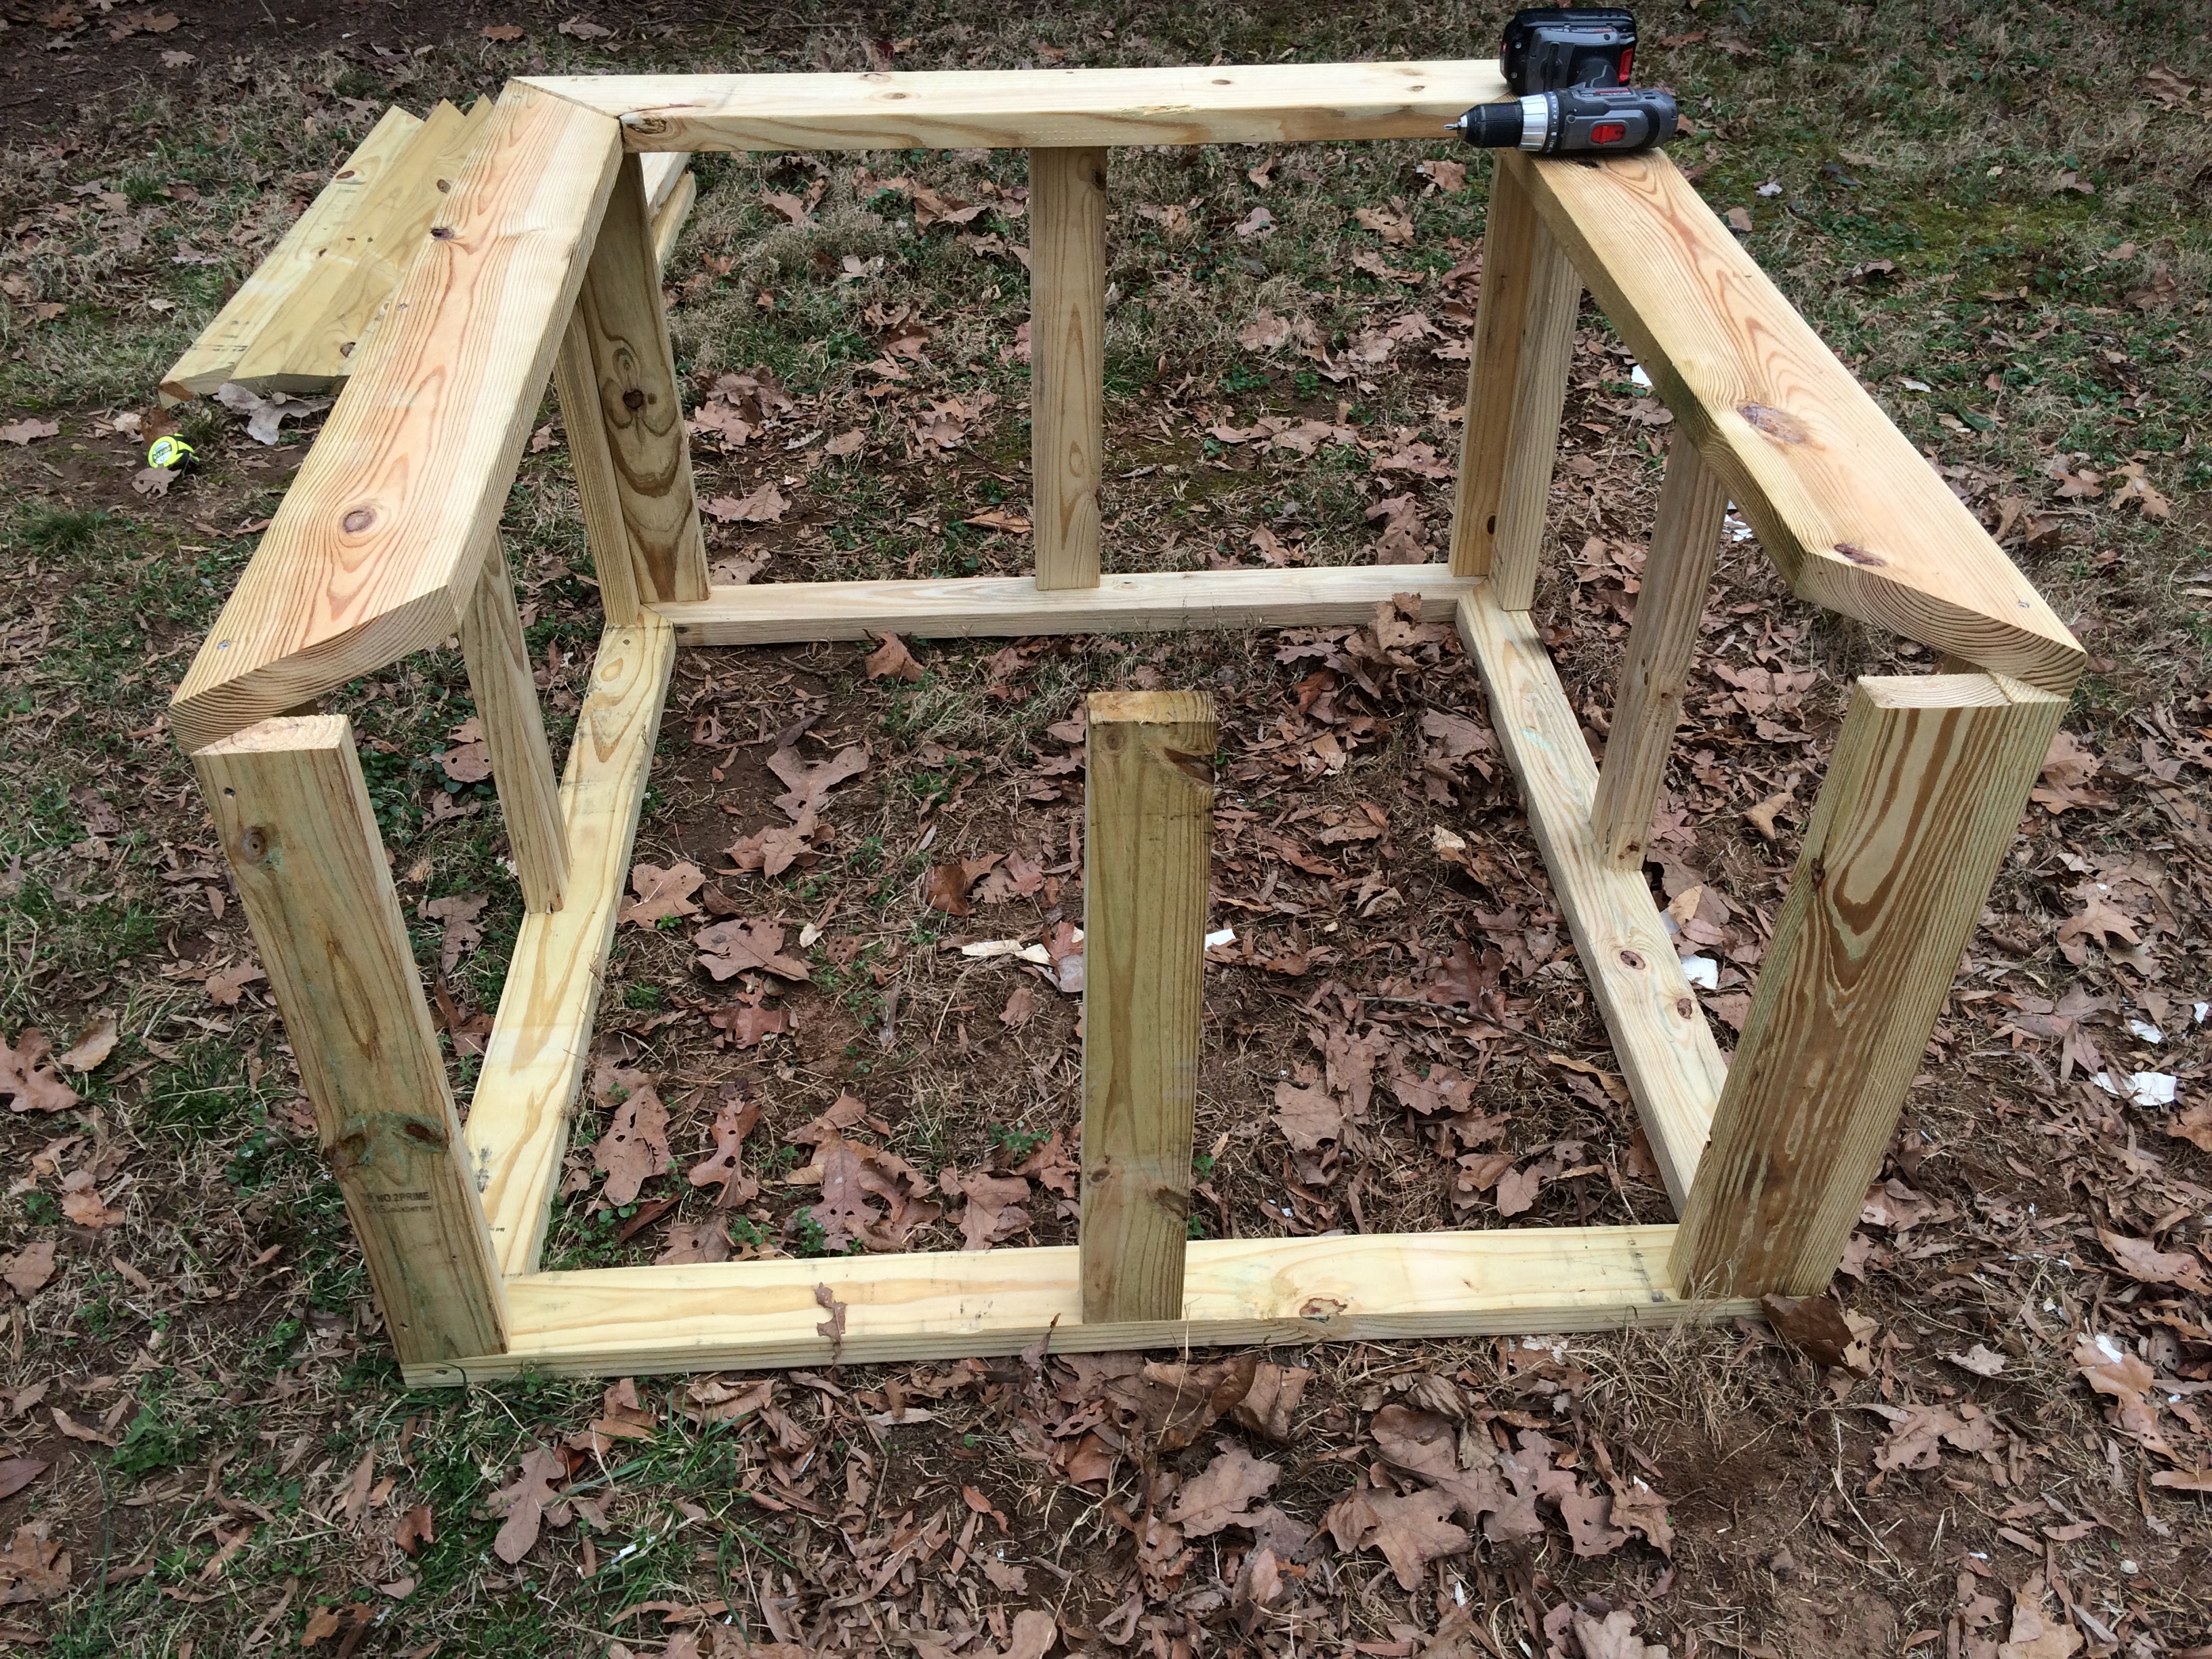
Build your bottom Square.
I cut four 2×4’s about four fee long and on a 45 degree angle and screwed them together putting just one screw in each corner for now to hold it together.
Prop up the square on something that will assist you in screwing on the corner sides.
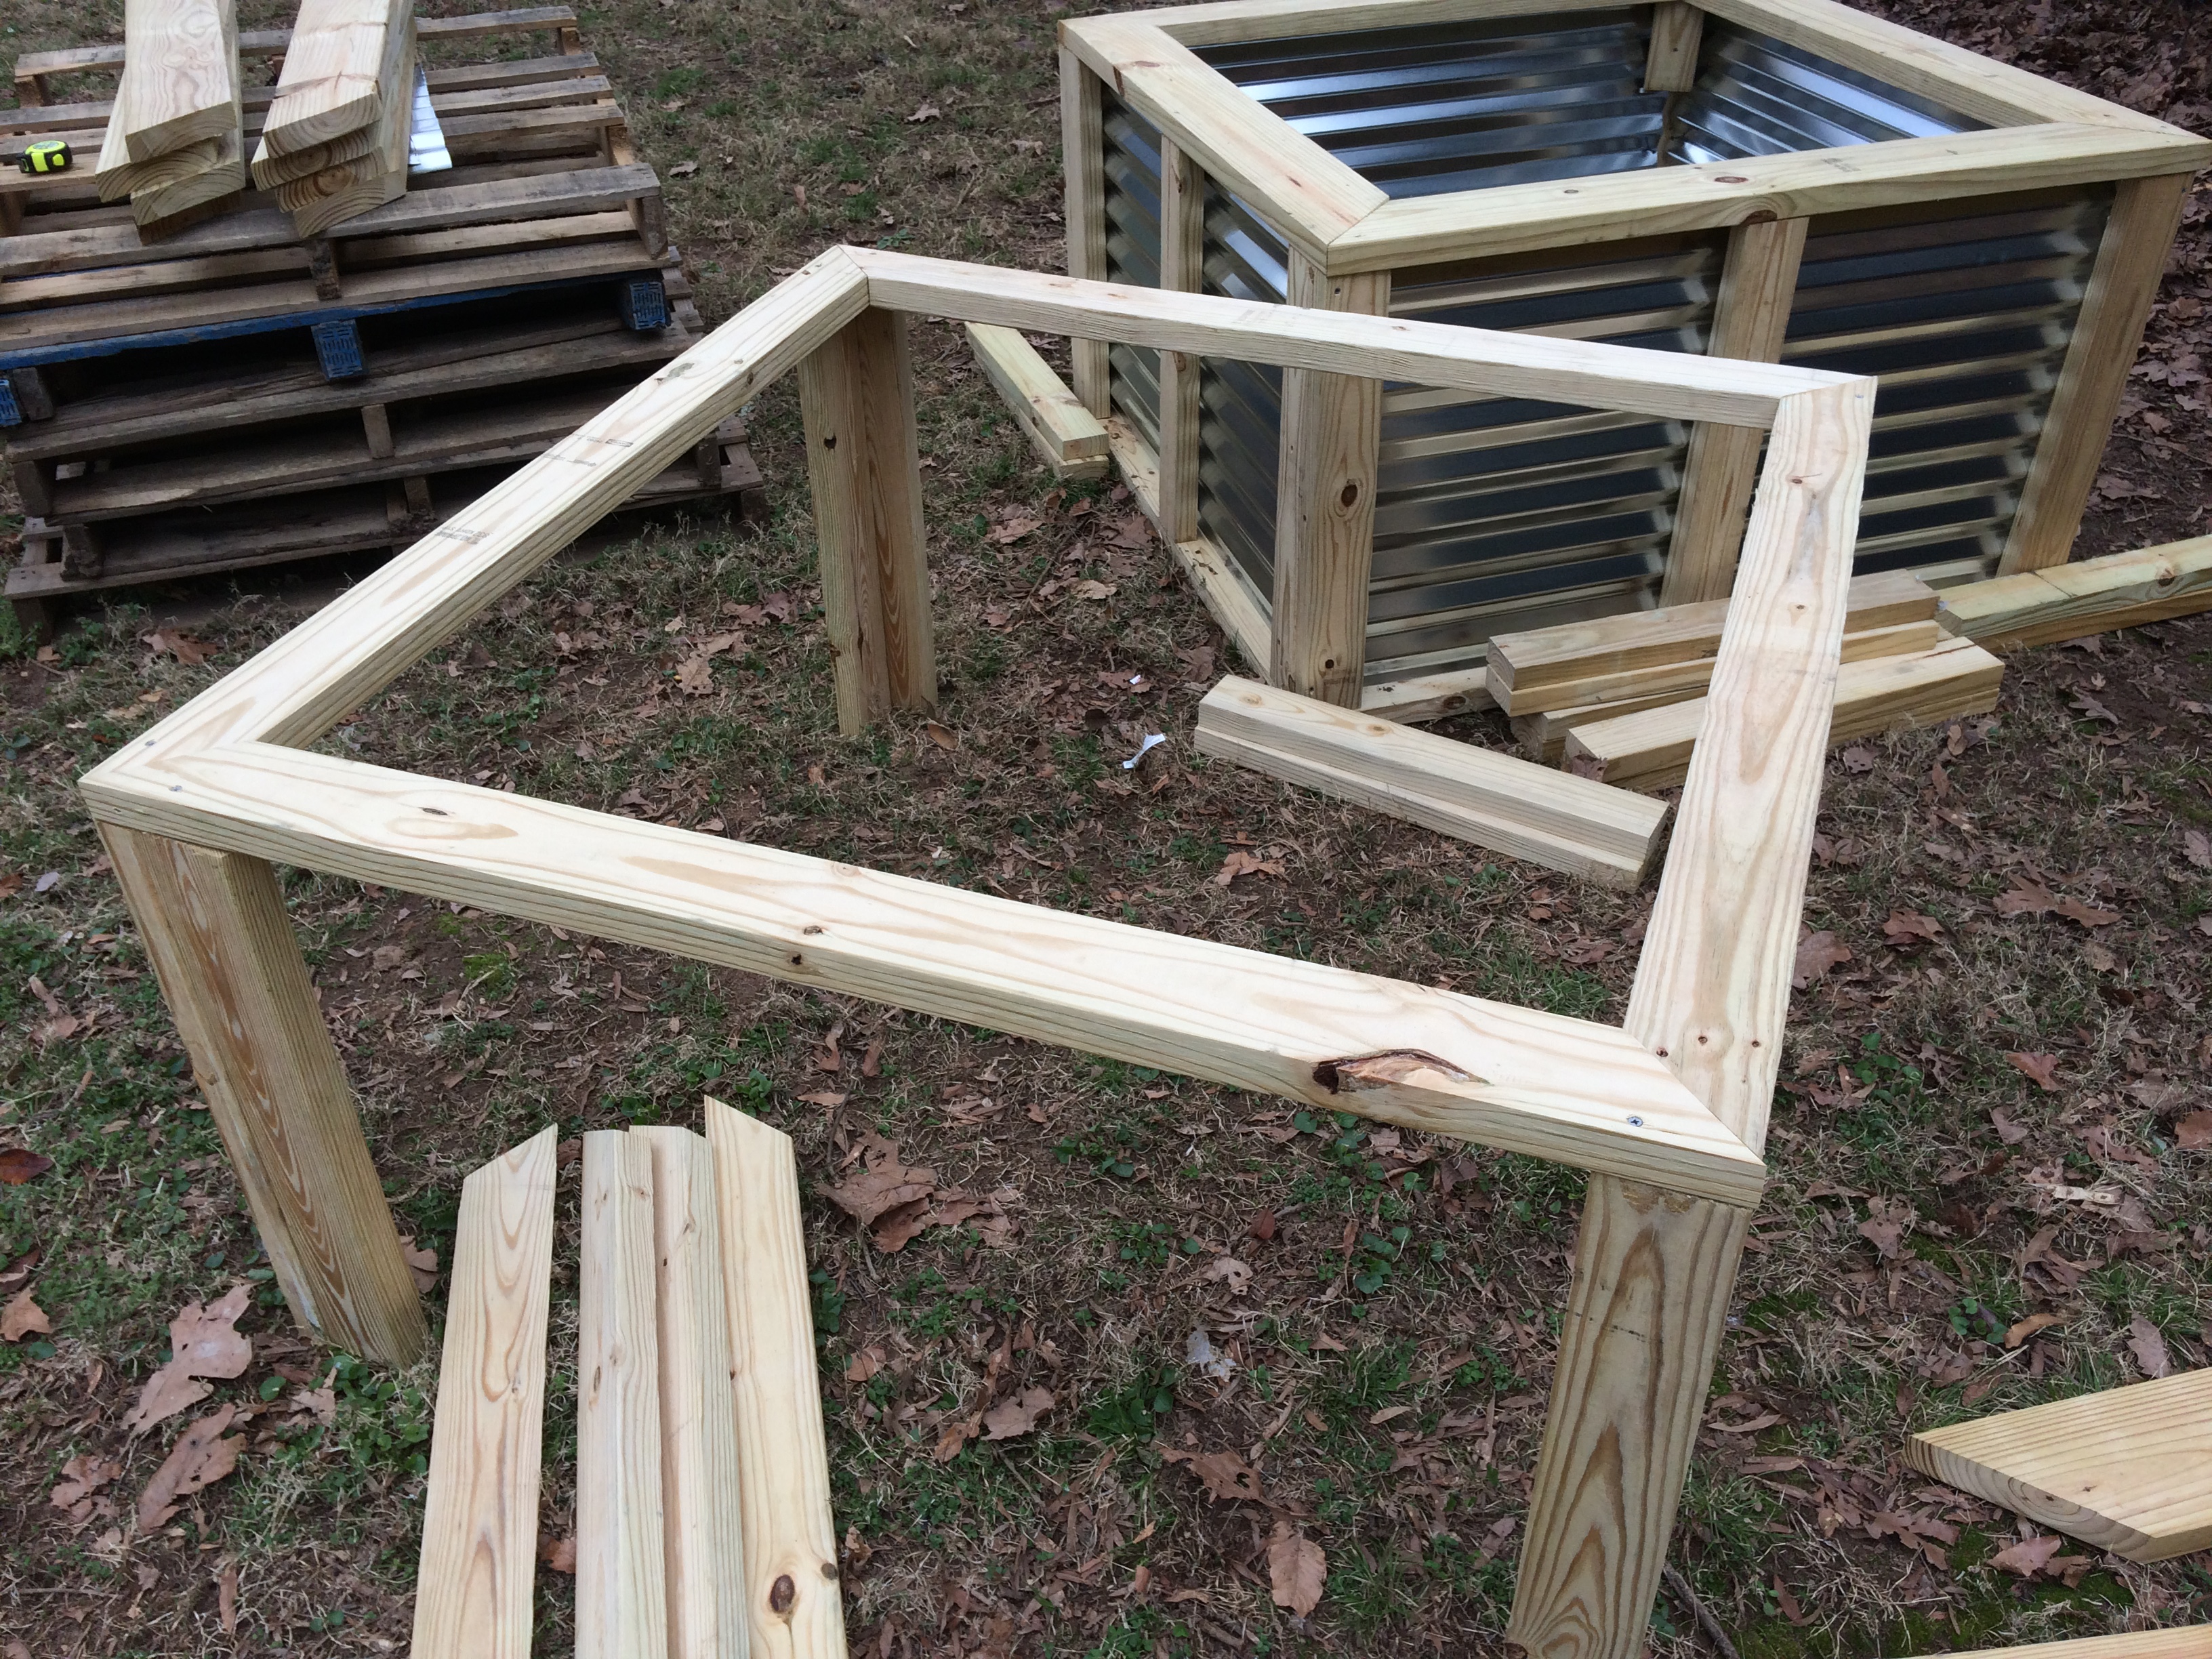
Add the vertical pieces
At this point I only screwed on one piece per corner to get it up off the ground. I actually used a couple pallets to hold it in place. I put two screws in the bottom of each vertical piece to keep it from spinning and to help make it more visually balanced all the way around it I faced each one flat to each side and then added another one 90 degrees to it in the next four corner pieces also placing a screw from the bottom into its 90 degree partner to give the square some more stability. I then took a measurement and put the middle in in its approximate center. Also putting two screws into the bottom.

Once all of the vertical pieces are in place I flipped it over. And put another screw into the other end of the corners to help reinforce the corners.
Secure Top Pieces
Next I Took the top sides and screwed them into place one at a time. The vertical pieces can be pushed into place to make every fit well. Not all boards are perfectly square but this is a fairly forgiving design.
Cut and attach the metal
Sorry I did not get photos of the last step but I then took an interior measurement of the needed length for the metal and cut the metal to the length needed. I sized the vertical pieces to match my metal so if you did not then you will need to measure and cut that as well. Be very careful with the metal as it can be very sharp. I measured and cut each metal sheet for its place to allow for some room for play and mistakes in my cuts so Cut one and attach it then measure and cut the next piece.
I screwed the metal sheets into place from the inside of the box putting four 1 inch screws in each side and two in the middle to hold it tight against the wood, but once you have them filled its all going to be help pretty tight, you don’t have to use as many screws.
Filling the boxes
I put a sheet of plastic drop cloth down for my bottom. The plastic in my mind at least helps to keep some of the bugs fro my yard from being able to get into the bed box. I then filled each box half with leaves. This will help it hold some moisture and helps to create some ongoing compost for later on and keeps me from needing to purchase so much other materials and still gives me the needed depth for my plants. I then used some untreated cardboard as a divider layer between my garden soil and the leaves.
My Chosen garden Soil
50% Compost * See later note about where I got it.
25% Vermiculite
25% Peat Moss
My actual amounts are probably more compost heavy but I used one bag of peat moss and one bag of Vermiculite per box filling the rest with compost. (Each box is half full of compacted leaves) before adding this mixture.
The county where I live offers compost for sale at about $27 for a cubic yard, Which fills the bed of my Ford ranger. Two loads was enough to fill all four of my boxes with some left over to spread around on my yard. The county here makes the compost from all of the yard scraps that they collect. Some counties sell it for cheaper and may even deliver it for you.